The following guide is the only one on the entire planet to replace the rear left or right axle with limited effort. The steps are minimal and do not require a full subframe drop, a lift, or a specialist workshop — just methodical preparation and the right sequence.
WHAT THE JOB REQUIRES
- 01 Suspend the entire rear subframe using jack stands or a method of your choosing. The subframe needs to be supported independently so it can be lowered slightly without fully removing it.
- 02 Deflate the rear air suspension. The air struts must be fully deflated before any subframe movement. Attempting this with pressurised bags risks damage to the strut, the bag itself, and creates an unpredictable suspension geometry mid-job.
- 03 Partial un-bolting of the rear muffler and attached componentry — including ground straps and exhaust valve wiring. These do not need to be fully removed, only freed enough to allow clearance when manipulating the subframe position.
As an Amazon Associate, Garage Verdict earns from qualifying purchases.
DISASSEMBLY PROCEDURE
- A Disconnect the shock from the lower control arm, then disconnect the lower control arm from the wheel bearing knuckle. You will need to remove the entire bolt — not just loosen it.
- B Loosen the upper control arm (the one closest to the shock) from the subframe. This alleviates the bushing tension and allows you to jack up the entire knuckle assembly for additional clearance later in the job.
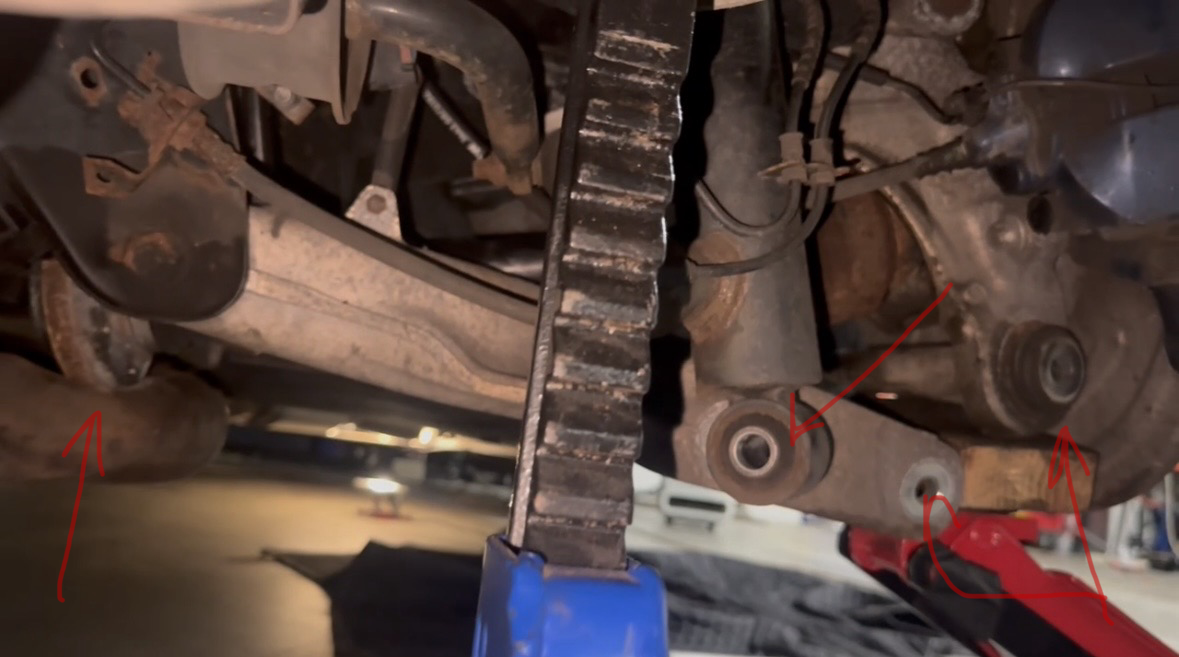

- C Disconnect the axle flange from the diff.
MUFFLER CLEARANCE & AXLE REMOVAL
At this point you can start lowering the rear muffler — just enough so it hangs freely from the rubber hangers at the middle of the chassis. You need to create enough clearance to drop the axle flange below the level of the diff output.
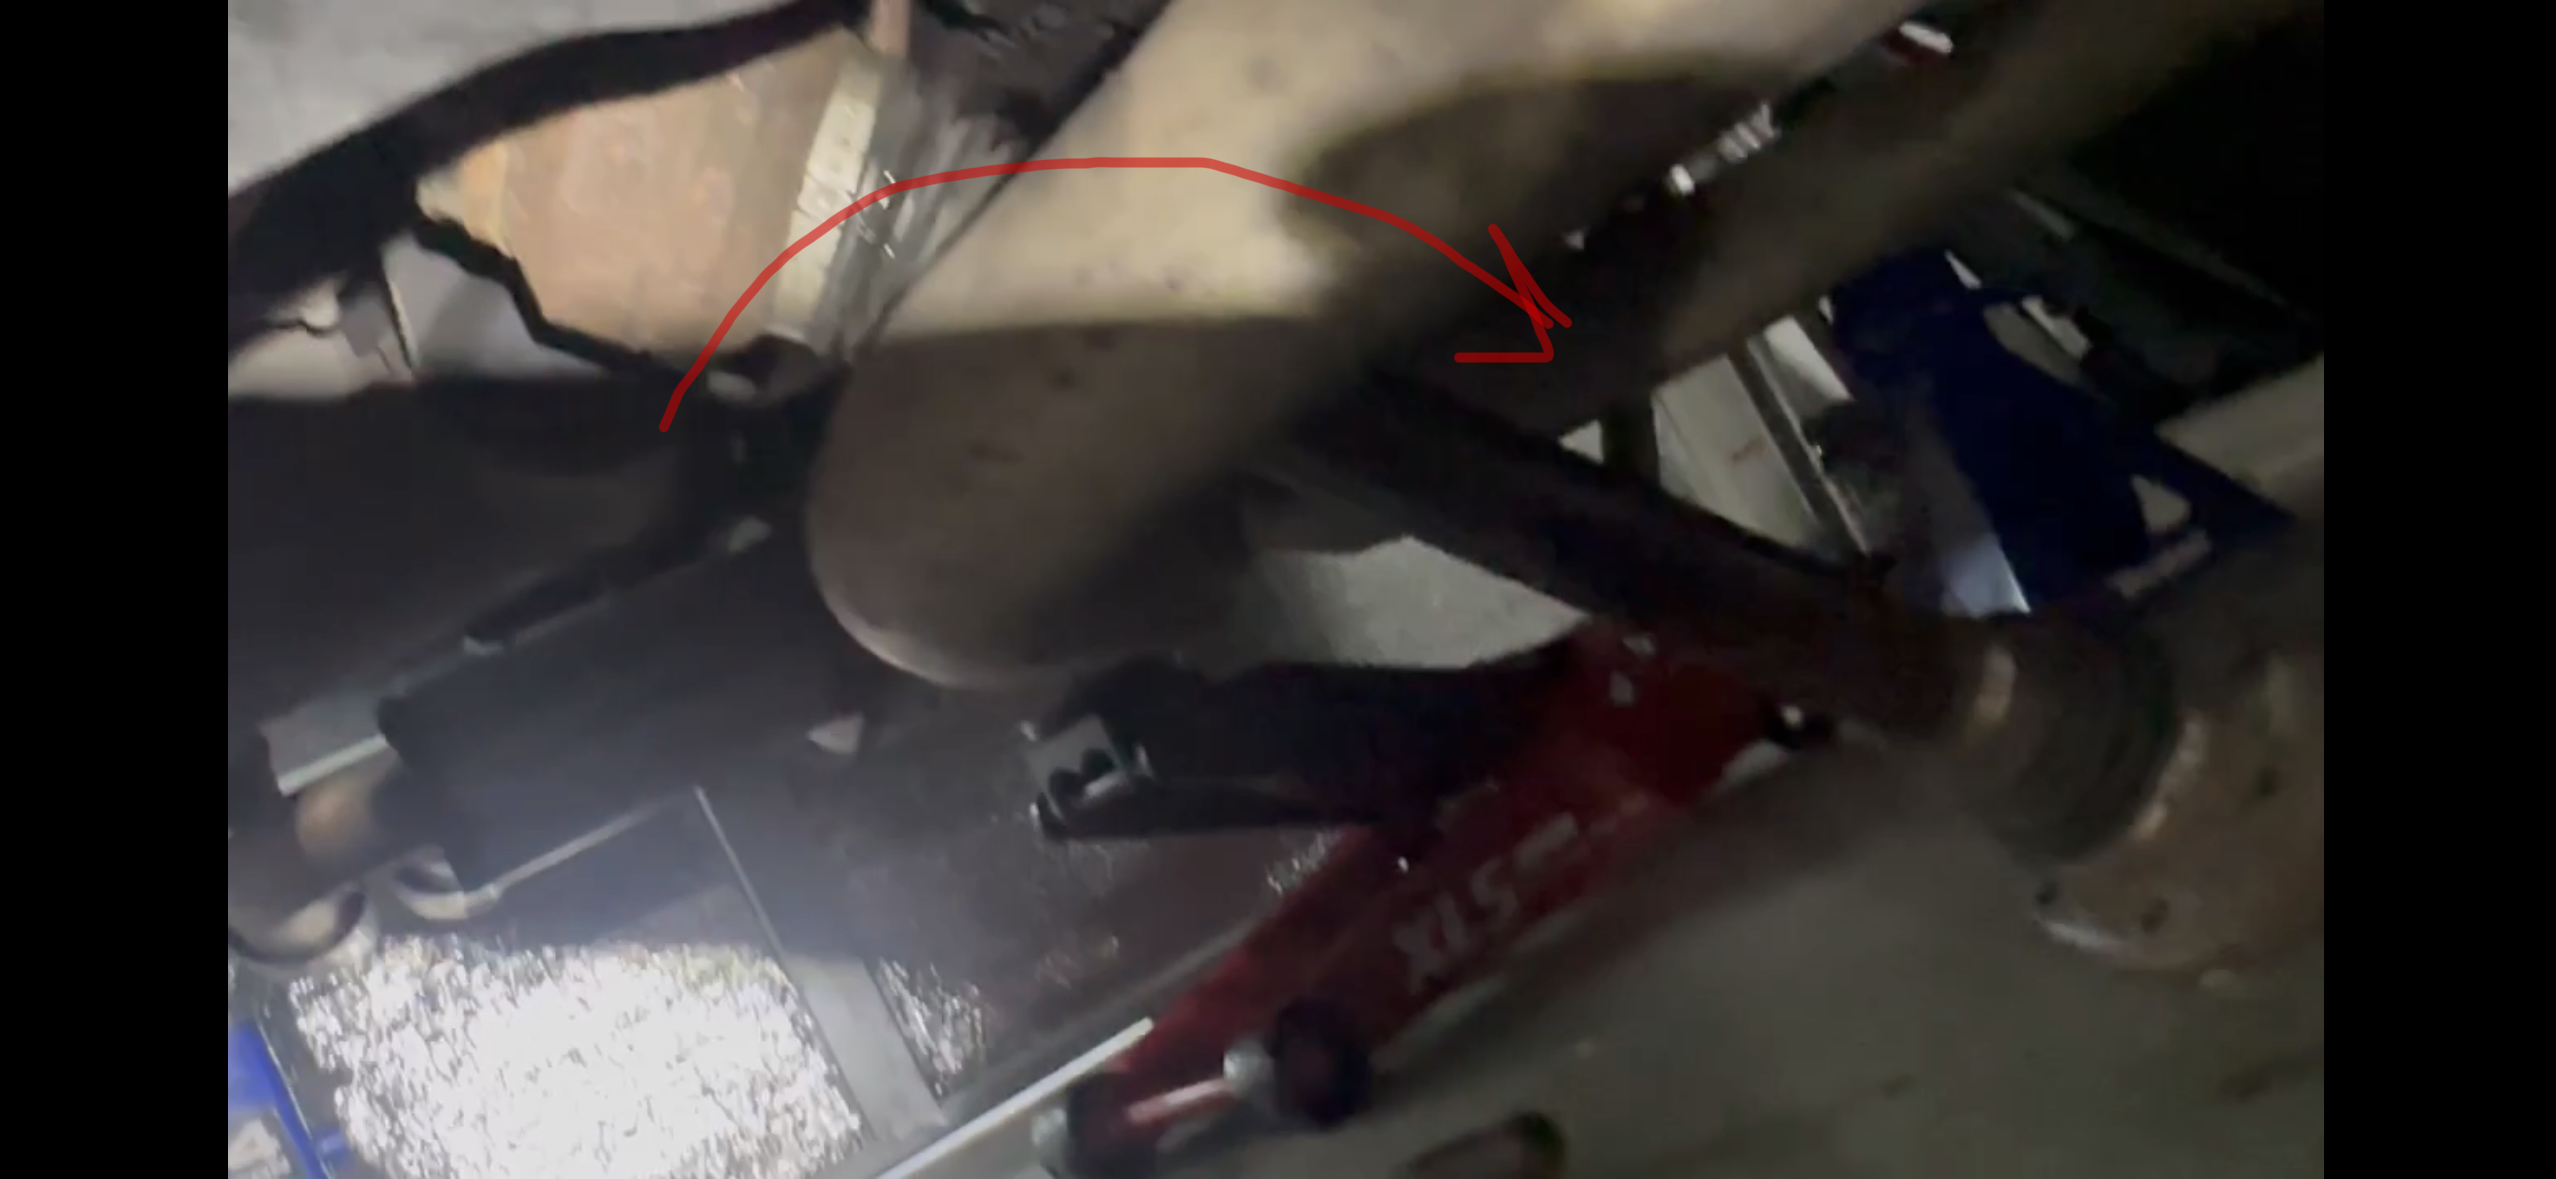
From here, begin jacking the knuckle upwards. The axle shaft will angle down as the knuckle rises:
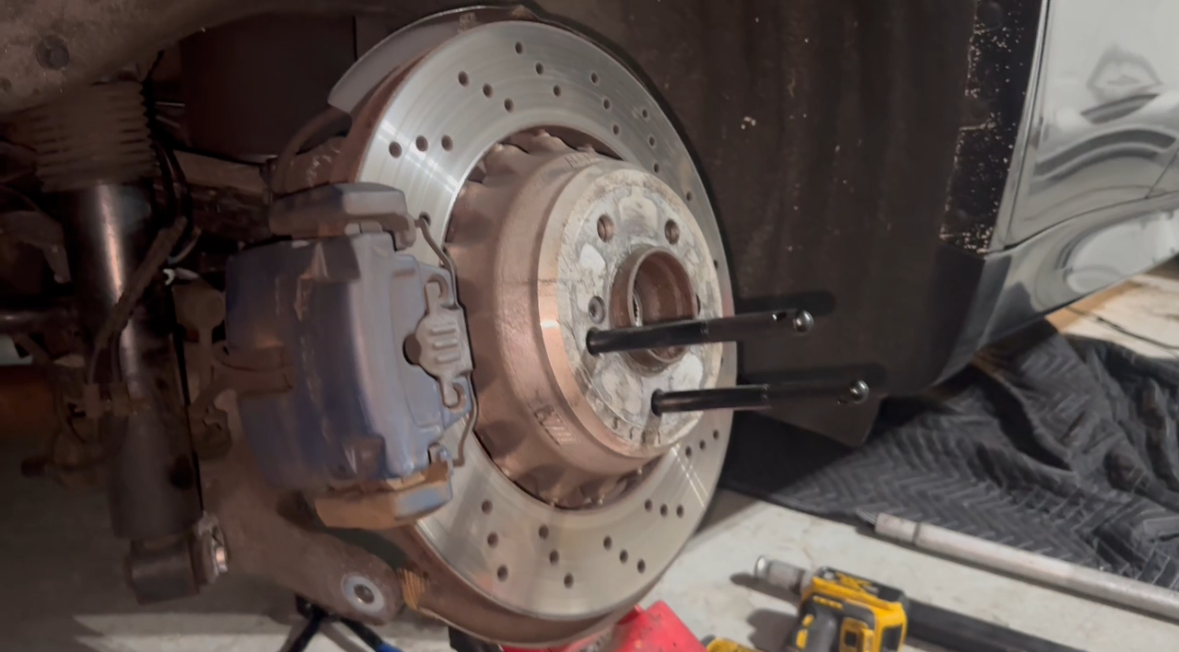
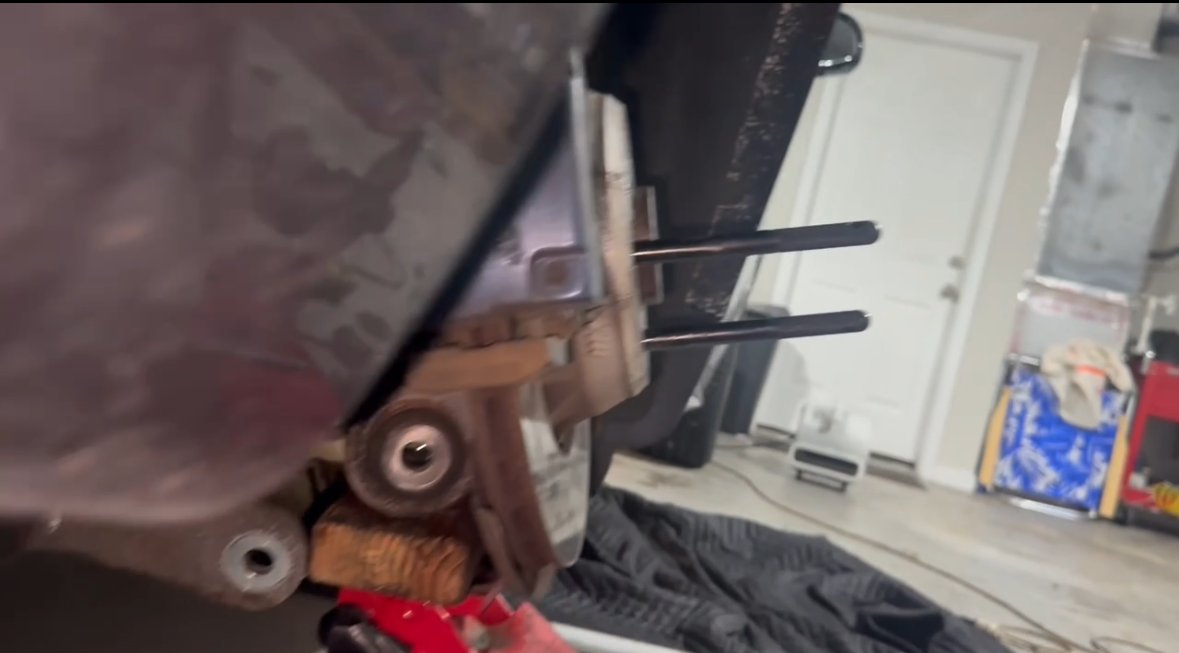
Once the axle shaft input has passed the diff output flange — essentially positioning it underneath the diff — you can move on to pushing the axle shaft out of the wheel bearing. The axle shaft will rest on the exhaust during this stage until you pull it clear.
Once you have reached this point, the rest of the job is essentially the reverse of everything above.
Guide in progress. Torque specs and photos are being added. The sequence above is the complete removal procedure.
As an Amazon Associate, Garage Verdict earns from qualifying purchases.